
Jigs and fixtures
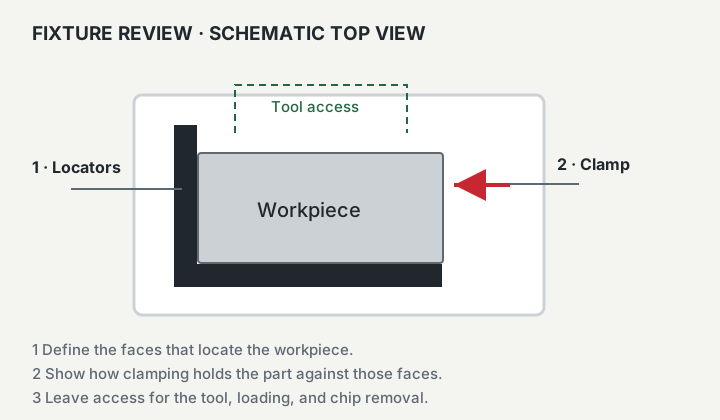
Mark the important features before review
Use an annotated sketch to show which surfaces locate or mount the part, how the load is applied, and where tools or hands need access. The diagram is a schematic example, not a production drawing or a tested load rating.
Jigs and fixtures
Where printed jigs help most
Printed jigs are useful when a shop task repeats often enough to deserve a guide but not often enough to justify machined tooling. The value is not the plastic itself; it is the reduced setup time, fewer layout mistakes, and more consistent hand work.
They work especially well for locating, marking, drilling, trimming, checking orientation, and holding small parts during assembly. If the same measurement, angle, or hole pattern keeps coming back, a printed jig can turn that judgment call into a repeatable motion.
- Drill guides and hole-spacing templates
- Marking and trim guides for repeated layouts
- Assembly aids that hold parts at the right angle or spacing
- Go/no-go checks for orientation or basic fit
Jigs and fixtures
Design the jig around the operation
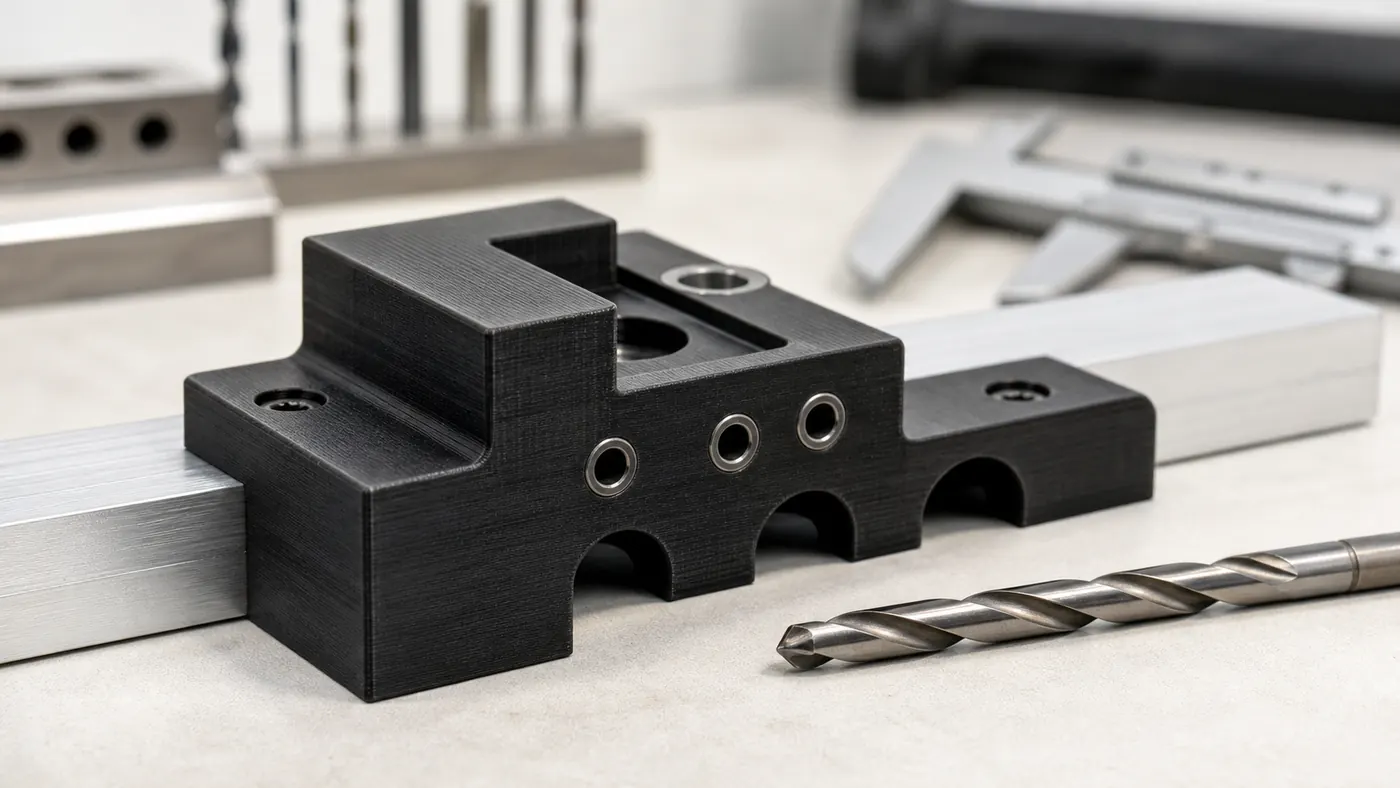
The best jig design starts with the human motion or tool path. If the operator has to fight the jig, the printed part is only adding another step. Start by watching the repeated action: where the part is picked up, where the tool approaches, and where a hand needs room.
Add clearance where chips, dust, burrs, or part variation can collect, and make registration faces obvious so the jig is hard to use backwards. A simple asymmetric edge or relief cut can prevent a surprising number of shop-floor mistakes.
- Use broad contact surfaces where the jig locates on the workpiece.
- Add finger relief, labels, or asymmetry when orientation matters.
- Avoid relying on tiny printed edges for high-wear tool contact.
- Leave tool approach clearance so the jig does not block the operation it is supposed to improve.
Jigs and fixtures
Plan for wear, chips, and replacement
Jigs live in the real world. They get handled, clamped, bumped, and covered in chips or dust. A printed jig should be designed with those conditions in mind instead of treated like a delicate prototype.
For light-duty layout and positioning, PLA or PETG may be enough. For stiffer shop aids or fixtures that need better dimensional stability, PETG-CF or PET-CF may be worth considering. If a drill bushing, threaded insert, or metal wear surface belongs in the design, call that out before ordering.
- Add chip pockets or relief channels near drilling and trimming operations.
- Use replaceable printed faces or sacrificial edges where wear is expected.
- Choose material based on heat, clamping force, solvent exposure, and expected service life.
Jigs and fixtures
What to send before ordering a custom jig
The fastest path is an STL or STEP file of the jig, but the context matters too. A short note about the operation often prevents the wrong material, orientation, or tolerance assumption.
If the jig locates against an existing part, include the workpiece dimensions or a reference model when possible. If it guides a drill, bit, router, marker, saw, or hand tool, include the tool size and the clearance you expect around it.
- Part or workpiece dimensions the jig locates against
- Tool diameter, fastener size, or repeated feature spacing
- Quantity needed and whether the jig is disposable, occasional-use, or shop-floor regular
Before ordering
Quick decision guide
A custom hole pattern, marking location, or tool path repeats across a short run.
The tool rubs directly on printed plastic or the jig will see heat, solvents, or heavy clamping.
Tool diameter, workpiece dimensions, reference photos, and which surfaces actually locate the part.
Key takeaways
What matters most
- 3D printing is a strong fit for custom jigs that improve repeatability without tooling overhead.
- The operation should drive the jig design more than the shape of the part alone.
- Clearance, registration, and wear points deserve attention before ordering.